
Braided Bun Tutorial from Lark & Linen
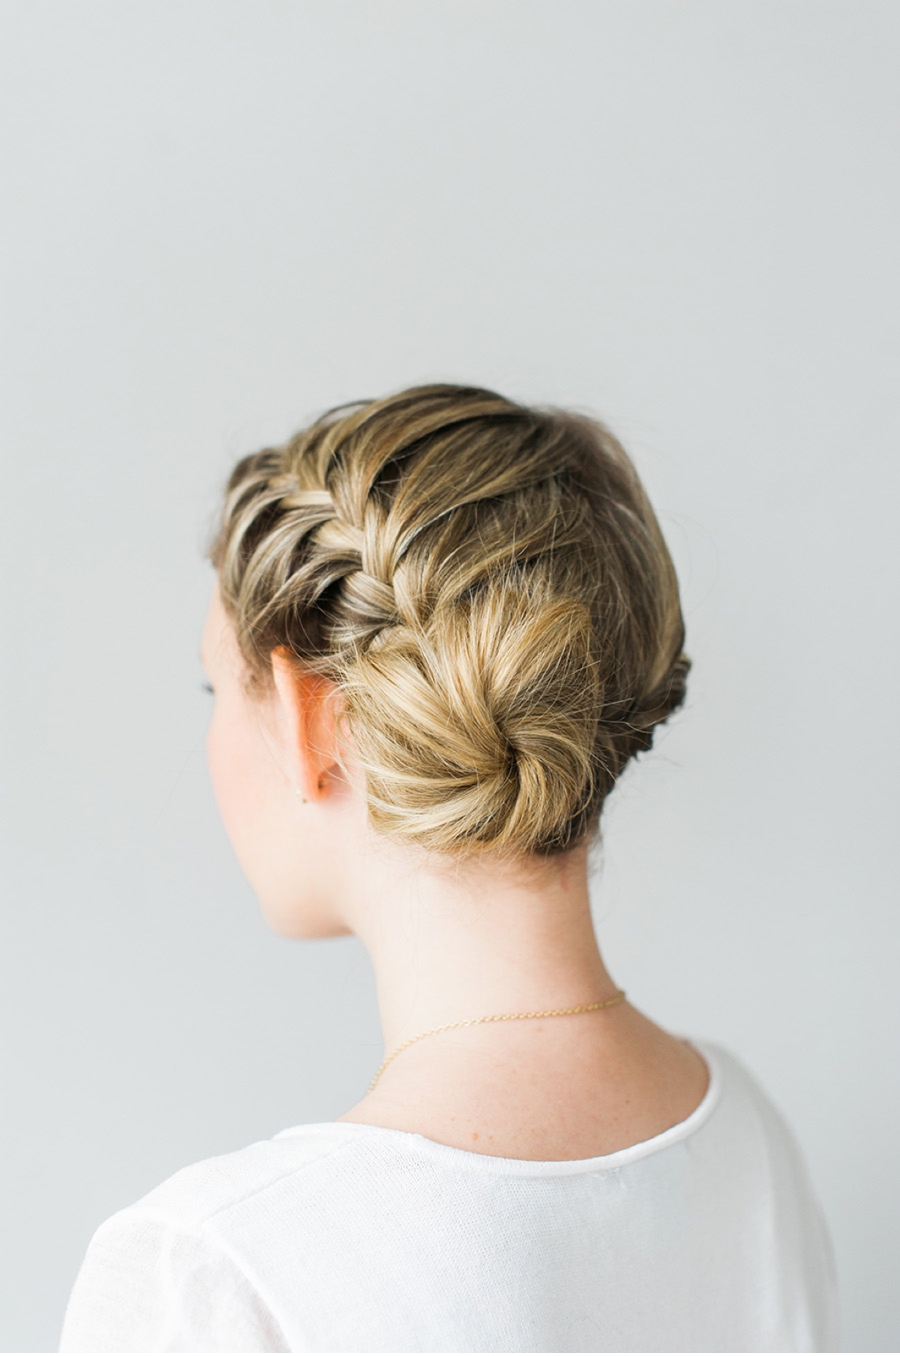
For an updo perfect your engagement shoot or night out with your bridesmaids, this braided bun tutorial by Lark & Linen with hairstyling by Lexington & Co., is both modern and romantic. Featuring step-by-step instructions to guide you on your way, the final look is sure to refresh your typical ponytail/topknot/insert-your-standard-updo-of-choice-here, not to mention turn a few heads in the process (and photograph well)! See directions below. Photography by Heidi Lau Photography.
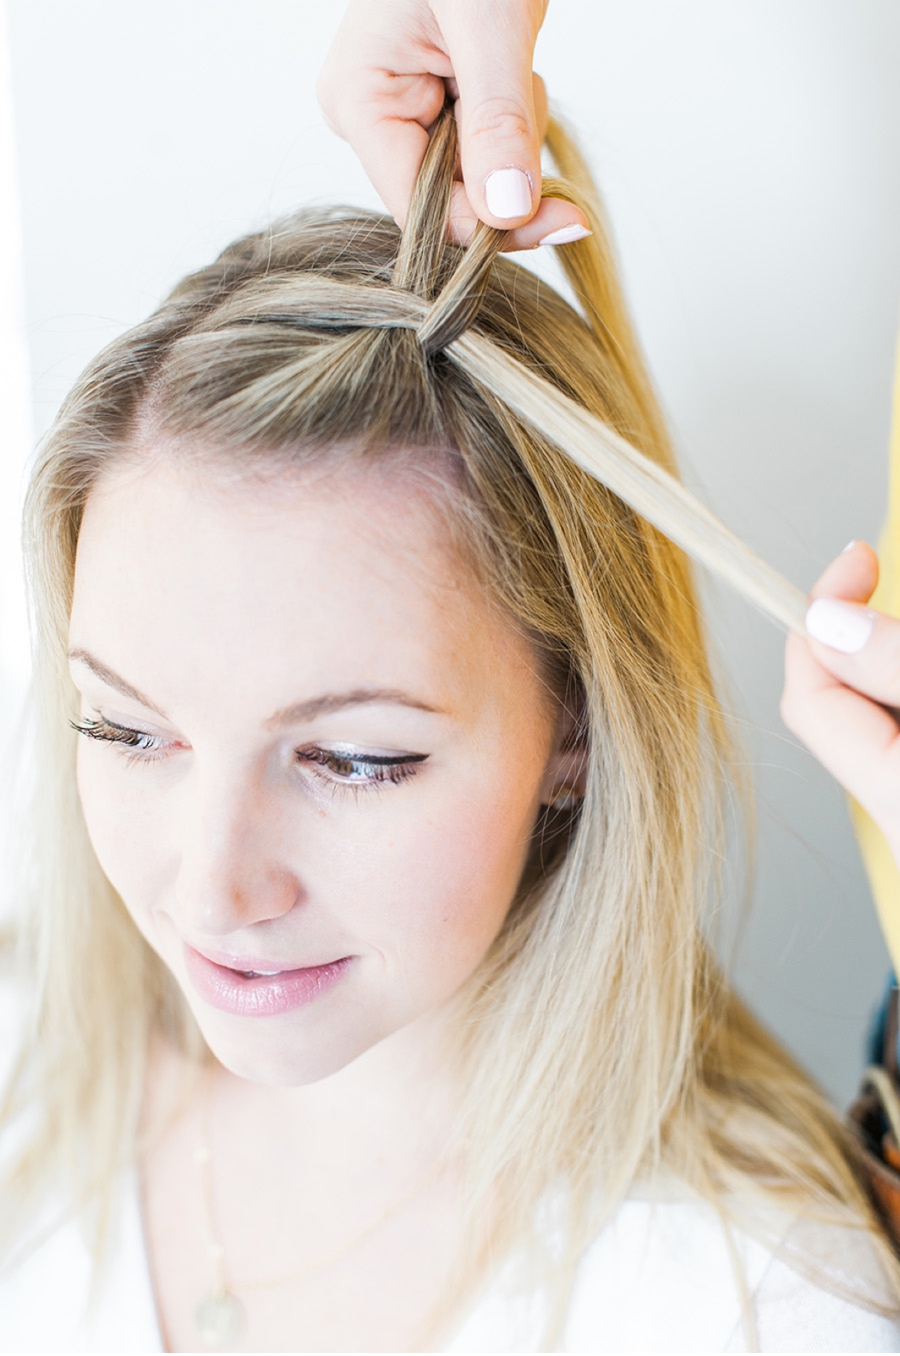
|STEP 1| Give yourself a deep side part. On the thicker side, grab a 3″ section of hair and start french braiding, ensuring the braid is parallel with your part.


|STEP 2| Once you’ve reached 2/3rds of the way, continue to braid as usual, tying off the ends with a clear elastic.

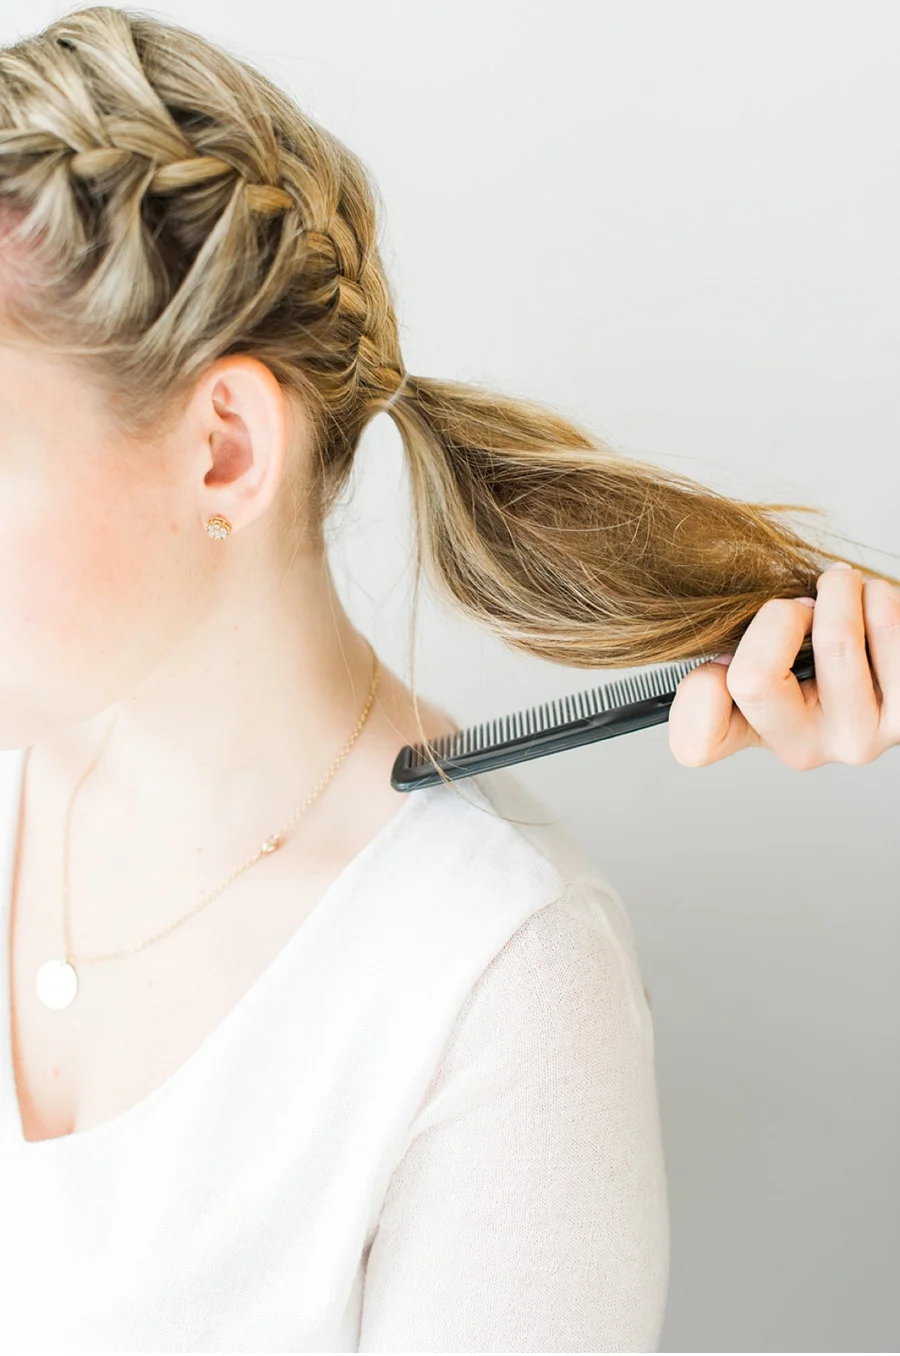
|STEP 3| Pull all of your hair, including the braid, into a side pony tail. Tie off with a clear elastic and remove the elastic on the braid.

|STEP 4| Using a comb, backcomb your side ponytail to create tons of volume and texture.

|STEP 5| Gently twist into a loose bun. You don’t want to twist too tight as you want your bun to be loose, full and textured. Pin as necessary using bobby pins.


For more braiding tutorials from Lark & Linen, scroll to the bottom of this link and check them out!
Credits // Photography - Heidi Lau Photography / Styling - Lark & Linen / Braid + Bun Styling - Lexington and Co. //